In the domain of home maintenance, the attic often becomes a neglected space where insulation issues can quietly accumulate over time. When it comes to restoring attic insulation, a methodical approach can make a significant difference in the comfort and energy efficiency of your home. From evaluating the current state of insulation to executing a seamless installation process, each step plays an important role in ensuring the effectiveness of your efforts. By following a structured guide tailored to attic insulation restoration, you can transform your attic into a more energy-efficient and comfortable space.
Key Takeaways
- Evaluate current insulation and ventilation for damage or wear.
- Remove old insulation properly with safety precautions.
- Prepare attic by cleaning, sealing gaps, and ensuring ventilation.
- Install new insulation correctly, considering type and ventilation needs.
Insulation Assessment
When evaluating the effectiveness of your attic insulation, it is imperative to conduct a thorough insulation assessment. Insulation efficiency plays a critical role in maintaining a comfortable indoor environment while also contributing to energy savings. An assessment involves examining the current insulation materials, checking for any signs of damage or wear, and measuring the insulation's thickness and R-value.
Insulation efficiency is key to reducing energy consumption and lowering utility bills. Proper insulation helps maintain a consistent temperature inside your home by preventing heat loss during the winter and heat gain during the summer. By making sure that your attic insulation is performing at its best, you can create a more energy-efficient living space.
During the assessment, it is important to look for common issues such as gaps, compressed insulation, moisture damage, or pest infestations. These issues can compromise the insulation's effectiveness and lead to energy wastage. Identifying and addressing these problems early on can help improve the overall efficiency of your insulation and maximize energy savings.
In addition to checking the insulation itself, it is also recommended to inspect the attic for proper ventilation and air sealing. Adequate ventilation helps prevent moisture buildup and mold growth, while air sealing helps maintain the insulation's effectiveness by reducing air leaks. By conducting a thorough insulation assessment, you can make sure that your attic insulation is functioning efficiently, leading to significant energy savings in the long run.
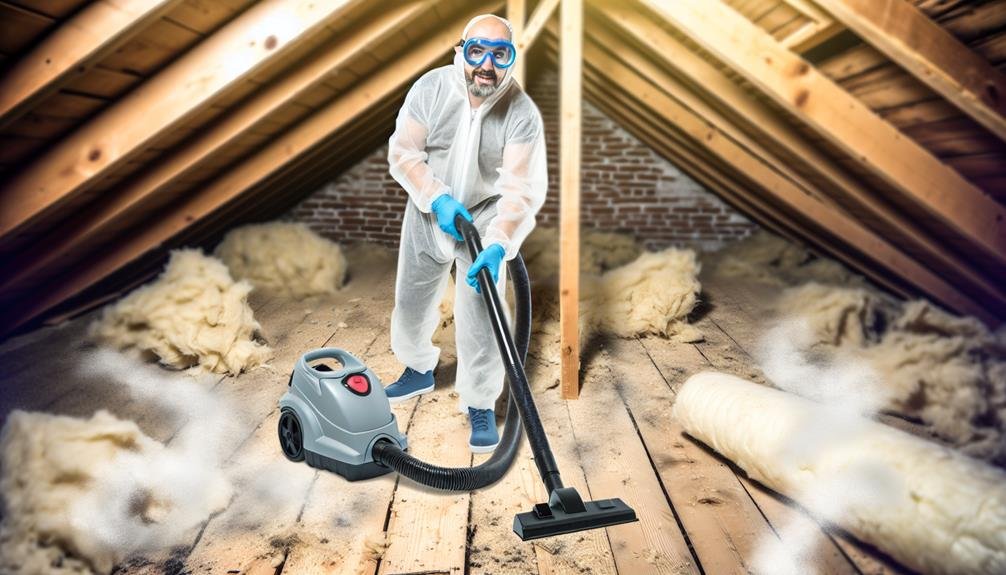
Old Insulation Removal
To guarantee the best performance of your attic insulation, it may be necessary to address the removal of old insulation before proceeding with any upgrades or replacements. Old insulation removal is an essential step in the process of restoring your attic's insulation. It establishes that the new insulation can function effectively without any hindrances from the old material. When removing old insulation, it is important to prioritize dust containment and adhere to safety precautions to maintain a clean and safe environment.
To effectively manage the removal process, consider the following key points:
| Dust Containment | Safety Precautions |
|---|---|
| Seal off the attic access points to prevent dust from spreading to other areas of the home | Wear protective gear such as gloves, goggles, and a mask to avoid direct contact with the old insulation |
| Use a high-powered vacuum equipped with a HEPA filter to remove dust and debris efficiently | Avoid electrical hazards by turning off the power supply to the attic before starting the removal process |
| Place a tarp or plastic sheeting on the floor to collect debris and make cleanup easier | Work in well-ventilated areas to minimize exposure to dust and potential allergens |
| Dispose of the old insulation properly according to local regulations | Have a partner present during the removal process for assistance in case of emergencies |
Air Sealing Preparation
Proper air sealing preparation is important for enhancing the effectiveness of your attic insulation. Before installing new insulation, it is essential to make sure that your attic is properly sealed to prevent air leaks that can reduce energy efficiency benefits. The first step in air sealing preparation is attic cleaning. Removing any debris, dust, or old insulation from the attic space is necessary to create a clean surface for the new insulation to be installed. Additionally, cleaning the attic helps in identifying any potential air leaks or gaps that need to be sealed.
Attic cleaning not only prepares the space for insulation but also contributes to maintaining a healthier indoor environment by eliminating allergens and contaminants that may have accumulated over time. Once the attic is clean, the next step in air sealing preparation involves identifying and sealing any gaps, cracks, or holes that could allow air to escape or enter the attic space. Common areas where air leaks occur include around pipes, ductwork, electrical wires, and recessed lighting fixtures.
New Insulation Installation
For effective attic insulation, installing new insulation is an important step in enhancing energy efficiency and maintaining a comfortable indoor environment. When considering this task, it's essential to estimate the costs involved and decide whether to undertake it as a DIY project or hire a professional. Below is a simple table outlining cost estimates and DIY techniques for installing new attic insulation:
| Type of Insulation | Cost Estimate | DIY Techniques |
|——————–|—————|———————–|
| Fiberglass | $0.64 – $1.19 per sq ft | – Wear protective gear such as gloves and goggles
- Use a utility knife to cut insulation
- Fit insulation tightly between joists |
| Cellulose | $0.55 – $1.50 per sq ft | – Use a blower machine to evenly distribute insulation
- Ensure proper ventilation during installation
- Seal any gaps or leaks before installation |
| Spray Foam | $1.00 – $2.25 per sq ft | – Follow manufacturer's instructions for mixing components
- Apply foam in a consistent manner
- Trim excess foam after it expands |
These estimates and techniques provide a starting point for those looking to install new attic insulation. It's important to carefully assess the attic space, insulation needs, and budget constraints before proceeding with the installation. By choosing the right type of insulation and following appropriate DIY techniques, you can enhance the energy efficiency of your home and create a more comfortable living environment.
Post-Installation Inspection
Upon completion of the new insulation installation in your attic, conducting a thorough post-installation inspection is essential to guarantee top performance and efficiency. This inspection serves as a final check to make sure that the insulation has been properly installed and to address any potential issues that may impact its effectiveness.
During the post-installation inspection, one essential aspect to focus on is moisture detection. Moisture can severely compromise the insulation's efficiency and lead to mold growth, reducing indoor air quality. Inspectors should look for signs of water damage, such as water stains, mold growth, or a musty odor. Addressing any moisture issues promptly is crucial to preserving the integrity of the insulation and maintaining a healthy living environment.
Another key element to consider during the post-installation inspection is pest control. Pests like rodents and insects can damage insulation material, create entry points into your home, and pose health risks. Inspectors should check for any signs of pest infestation, such as droppings, gnaw marks, or nests. Sealing off potential entry points and addressing any existing pest problems will help protect your attic insulation and ensure its longevity.